 MKV Player
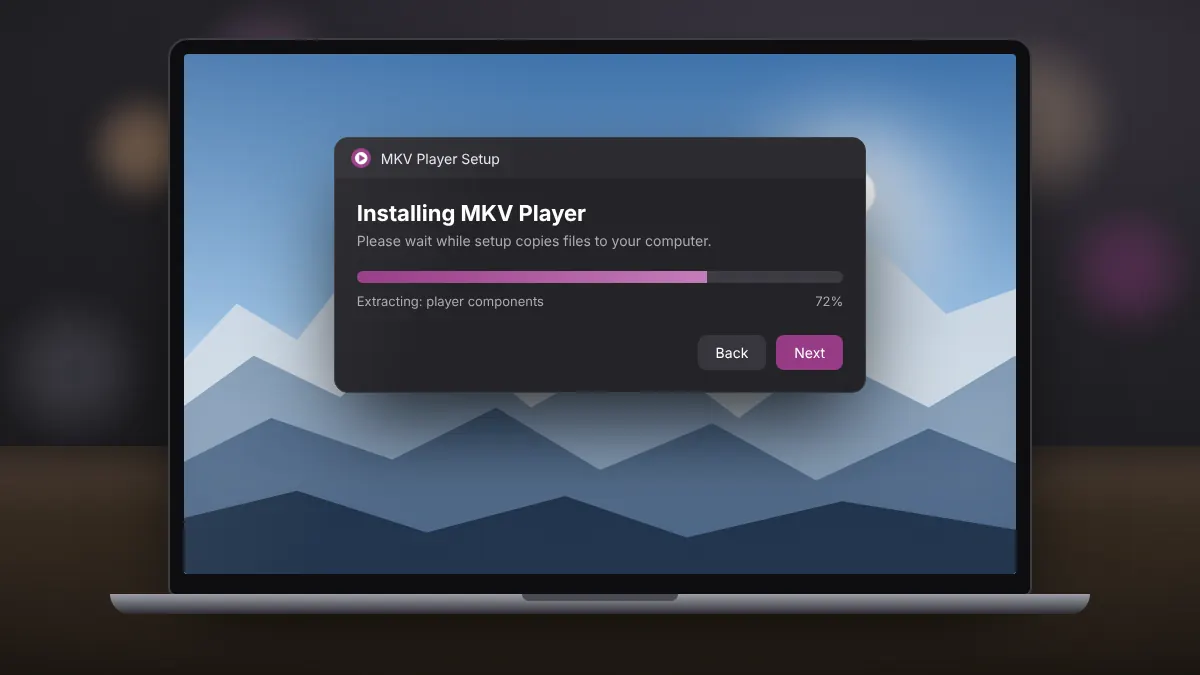
Installing MKV Player takes only a few minutes, and the whole process happens in a standard Windows setup wizard. This walkthrough covers Windows 10 and Windows 11, though the same steps apply to Windows 7 and 8.1. The goal is a clean install: the player itself, nothing extra, and your MKV files opening correctly afterwards.
Before you start
Check that you are signed in to a Windows account with permission to install software. On a shared or work computer, the installer may ask for an administrator password. You will also want around 20 MB of free disk space, which almost every machine has to spare.
If you already have an older copy of MKV Player, you can install the new release over it. Your settings are usually kept, but uninstalling the old version first through Settings > Apps gives you the cleanest result.
Step 1: Get the installer
Use the download section on our homepage. The file starts saving immediately, and in most browsers it lands in your Downloads folder. The installer is under 1 MB, so even a slow connection finishes it in seconds.
Step 2: Run the setup file
Open the downloaded file. Windows SmartScreen or User Account Control may ask whether you want the app to make changes to your device. Confirm to continue. This prompt appears for most desktop programs and simply confirms that you started the installation yourself.
Step 3: Read each screen
MKV Player is free and its installer is ad-supported, which means a screen may offer optional third-party software such as a browser toolbar or utility. These offers are not needed for the player to work. Look for wording such as Decline, Skip or a pre-ticked checkbox, and untick anything you did not come for. Choosing Custom or Advanced installation, when available, shows every option clearly.
Step 4: Choose the install location
The default folder inside Program Files is fine for almost everyone. Change it only if you keep applications on a separate drive. You can also let the installer create a desktop shortcut, which is handy if you open videos from the player rather than from File Explorer.
Step 5: Finish and open a video
When setup completes, launch MKV Player from the Start menu or the desktop shortcut. Use the Open option to choose a video, or simply drag an MKV file onto the player window. Playback should begin straight away.
If something goes wrong
- The installer will not open: right-click the file and choose Run as administrator.
- Antivirus blocks it: make sure the file came from a reputable source, then allow it once. Many security tools flag ad-supported installers by default.
- MKV files still open in another app: follow our guide on making MKV Player the default app for MKV files.
That is the whole process. Once MKV Player is installed, it stays out of your way until you need it, and it opens Matroska files without any codec packs or extra downloads.